
Product video lighting
Light the product so its shape and material stay clear
Read the surface, choose a light direction, make the source larger or smaller, control what the product reflects, and lock the setup before the next shot.
Start by reading the surface
Reflective metal or gloss
Shape the reflected environment with large sources, flags, and clean edges.
Transparent glass or liquid
Light edges and background separately and watch label contrast.
Matte surface
Use directional light and controlled shadow to keep volume.
Fine texture
Let light skim across the surface without creating harsh noise.
Change one variable and watch the product change
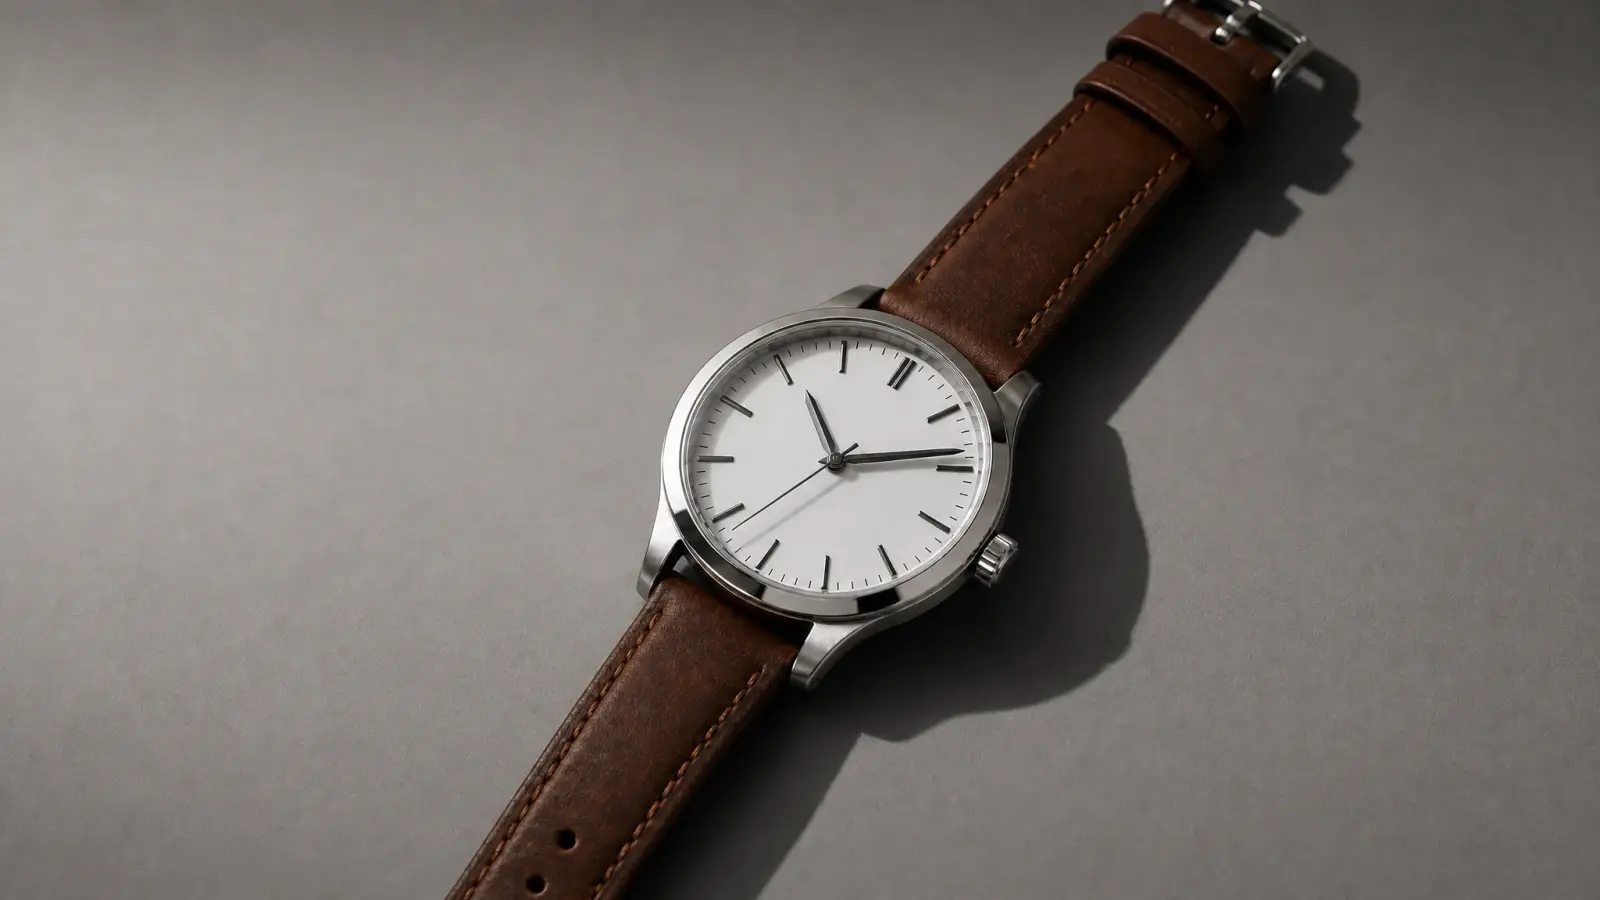
Choose the light
Smaller or farther light creates sharper shadow and reflection.
Build a controllable setup in five moves
Place product and camera
Choose the useful angle first.
Add one key light
Move it until shape and label are readable.
Change source size
Match shadow and reflection to the material.
Add local control
Use fill, negative fill, or a flag only where needed.
Lock the setup
Separate the background, lock exposure and white balance, and record positions.
Keep the light continuous across the sequence
- Record camera height, lens, distance, exposure, and white balance.
- Record key position, source size, fill, flags, and background level.
- Preserve the same apparent direction and material response in macro shots.
Fix the problem you can see
| Symptom | First fix |
|---|---|
| Hotspot hides a label | Move or enlarge the reflected source, change angle, or flag it. |
| Dark product disappears | Add edge or background separation before raising exposure. |
| Metal looks like gray plastic | Create a gradient with bright and dark reflected areas. |
| Glass loses its shape | Build edge contrast and simplify the reflected room. |
| Texture becomes harsh | Enlarge the source, reduce grazing angle, and lower sharpening. |
Capture a source image that can support the next video
Show the complete product, keep critical surfaces readable, avoid clipped highlights, and leave enough resolution to inspect labels and controls. The lighting already defines material, depth, and edge information the result should preserve.
Frequently asked questions
Product video lighting FAQ
Practical answers for one-light placement, flicker, reflections, backgrounds and repeatable setups.
What is the best lighting for product video?
Place one large soft source about 45 degrees to the product and slightly above it, then move it closer for softer reflections or farther away for more contrast. Use a white card to open the shadow side and a black card when edges or glossy surfaces need stronger definition; judge the label, material and moving part in the actual camera frame.
How do I prevent LED flicker in product video?
Use video-rated lights, avoid very low dimmer settings, and test at the exact frame rate and shutter speed before the product is styled. In 50 Hz regions, 1/50 or 1/100 second is a useful starting point; in 60 Hz regions, start around 1/60 or 1/120, then record a short test because practical fixtures and screens can behave differently.
How do I light reflective products?
Light what the surface will reflect rather than pointing a small hard lamp directly at it. Build clean gradients with large diffusion, place black and white cards to draw edges, flag the camera and room, then adjust the product by a few degrees until the label and form separate without unwanted hotspots.
Should I use a white background or a lifestyle setting?
Use a white or neutral background when shape, parts, color, or comparison must be easy to inspect. Use a lifestyle setting when scale, fit, placement, or routine is the buyer question; keep the background one to two stops less prominent so it supplies context without competing with the product.
How do I keep lighting consistent across many product shots?
Lock exposure, white balance, light output and room light; mark the product, camera, stand and card positions; photograph the setup and record distances and settings. Shoot a reference frame at the start of every session and compare materials and labels before moving to the next product or angle.
Start from a clearer source
Keep the light you worked for when the product image becomes video
Use a complete, well-lit product image as the identity source, then describe the camera, action, environment, pace, and ending while keeping the material readable.
Turn the lit product image into video